![]() As written previously: There are performance benefits to be had by switching from VirtualBox to KVM. And now, after making the switch I can firmly say that not only are the performance benefits noticeable, the configuration of automatic startup and, prima facie, backups, seems to be much easier to establish and use.
As written previously: There are performance benefits to be had by switching from VirtualBox to KVM. And now, after making the switch I can firmly say that not only are the performance benefits noticeable, the configuration of automatic startup and, prima facie, backups, seems to be much easier to establish and use.
I’ve grown very fond of Oracle’s Virtualbox but given that it’s
more of a prosumer product rather than an enterprise one, it’s only fair that I learn how to use it’s bigger brother KVM.
The process of switching to KVM itself was very simple, all things considered. The process I followed, after troubleshooting the various stages worked like this:
- Stop and backup all the virtualbox VMs.
- Convert the virtual disks from a virtualbox to kvm format.
- Create the virtual machines using virt-
 manager.
 - Removed vboxtool and configs
- Create a bridge interface on the KVM Host
- Set each of the virtual machines to use the new bridge interface to connect to the internet and local network.
- Configure each VM’s network interface to use the new network interface.
In Detail:
Stopping the machines was easy, simply ssh into them and run shutdown -h now.
Backup the machines using the clone option in VirtualBox.
On the Hypervisor, navigate to the virtual machine directory (usually /home/user/VirtualBox VMs/ and create a new disk image from the vdi files like this:
qemu-img convert -f vdi -O qcow2 VIRTUALBOX.vdi KVM.qcow2
Thanks to this website for the useful tip. At this point I moved each of my VM disks to a new separate directory. This wasn’t strictly necessary, it’s just neater!
Use virt-manager to then create the virtual machines. The process is intuitive. Be sure to enable bringing up at boot. It was at this point that I ran into trouble. By default the virtual machines cannot talk to the host which is a problem if the host is also a file server. To get around this I had to modify the network config on the host. The KVM network page provided information on how to achieve this. Ultimately, you create network bridge then set each of the VMs to use that bridge. Below is my modified interfaces file on my Ubuntu 16.04 VM host:
# The primary network interface
#bridge to allow the VMs and the host to communicate
auto br0
iface br0 inet static
address 10.60.204.130
netmask 255.255.255.128
broadcast 10.60.204.255
gateway 10.60.204.129
dns-nameservers 10.60.204.133 8.8.8.8
dns-search warbelnet.local
bridge_ports enp6s0
bridge_stp off
bridge_maxwait 0
bridge_fd 0
Below is the configuration in virt-manager for the network in one of my VMs:
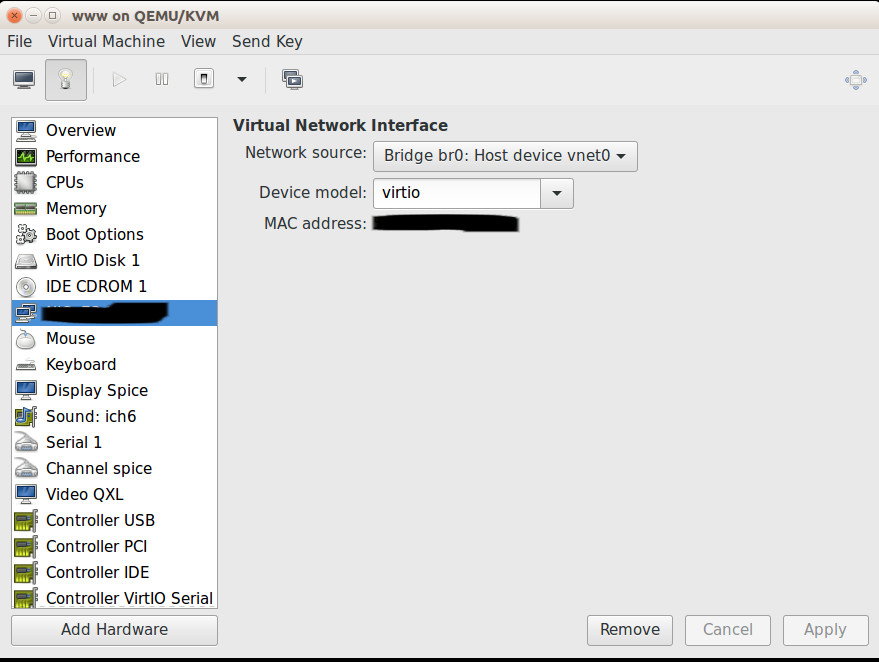
This was testing and working.
As my virtual machines are all running Ubuntu 16.04 the network interfaces file needed to be updated as the interface name changes after a hardware change.
Finally, I uninstalled Virtualbox, removed vboxtool (which I had been using to automatically start the Virtualbox VMs), removed vboxtool’s config from /etc/ and restarted everything to test.
Very happy to say it’s been quite a success!