Background
I recently re-connected the WA Freenet (discord here), an open WiFi wide-area-network that spans the Perth metropolitan area. Perth has an ideal geography for a WiFi network as it is extraordinarily flat, with an escarpment running along the eastern spine with excellent line-of-site to the suburbs.
I had joined the WAFN many years ago and it is thanks to the other operators on the network that, at the time, I was able to learn how to configure IPv4 subnets, firewalls, and BGP routing, skills that have served me well in my professional career.
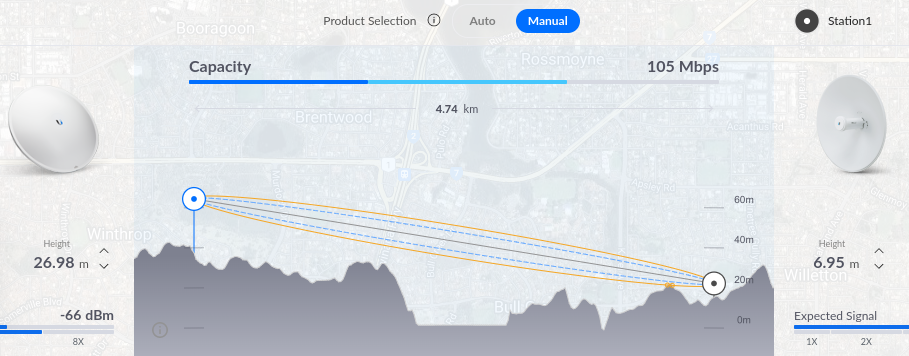
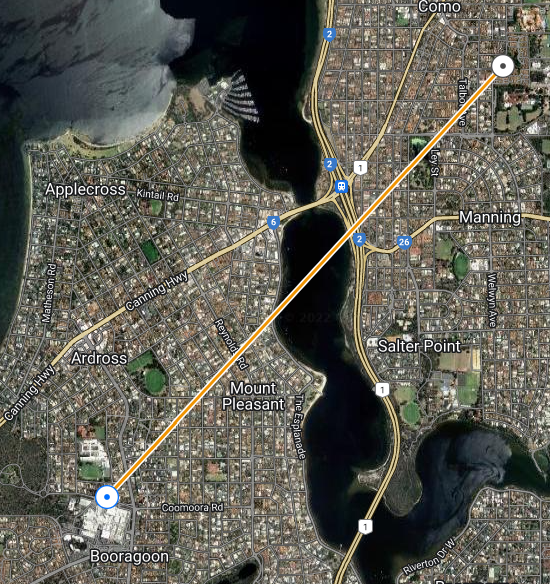
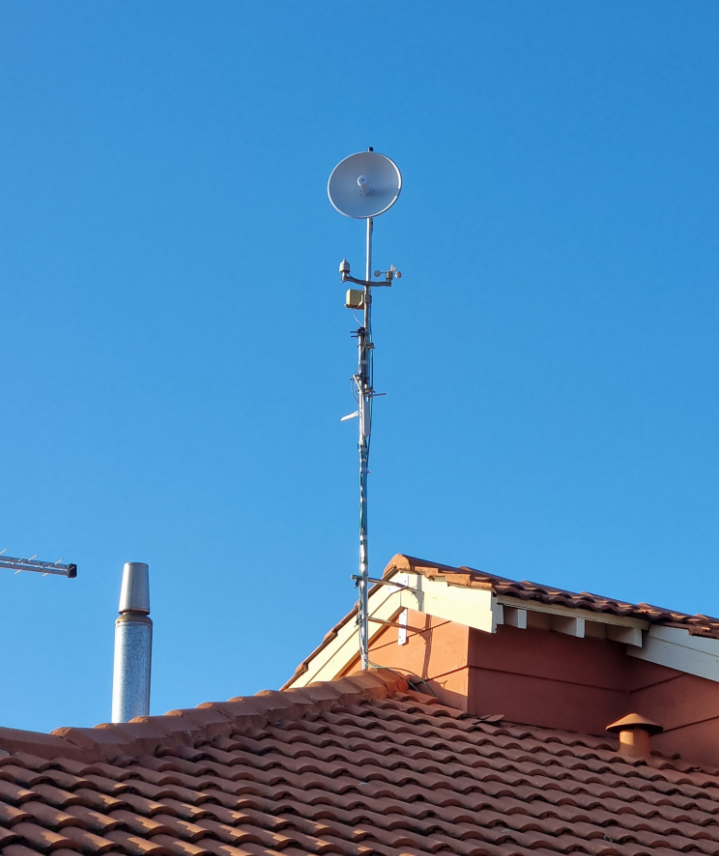
Moving forward to the present day, I was pleasantly surprised to find that I was able to connect to an existing AP with links to the backbone of the network from my address. So I purchased two new radios – a Powerbeam AC 500 for my link in Ardross, and a Powerbeam 5AC Gen2 for my roof at home. Without much hassle, and with the support of the WAFN community, I was able to reconfigure my Ubiquiti Edgerouter with BGP, advertise my routes and accept those advertised to me.
Problem:
I personally hate seeing the ‘this website is insure’ messages that appear when a site uses self signed certificates. At home, I secure all my internal websites, devices and appliances with my internal CA certificates. So I wanted to do the same for the new radios. However, I was unable to find a website that outlined the entire process end-to-end, so thought I should write one myself.
Process:
Firstly, download the custom-script firmware for your device and install it. From the table below, it is easy to deduce the URL to download the appropriate firmware from UBNT.
Don’t forget also, that you will need to setup DNS to point to your device with its internal hostname.
The custom script (CS) firmware version is important because it is necessary to run a script on the device at boot time.
Then, generate your TLS certificates. How you do that is not covered here. I personally use easyrsa to manage my internal certificates. I also deploy my root CA certificate to all my devices via AD group policy on Windows, or via Ansible for my linux hosts.
You should have a certificate that looks something like the below, called server3.crt
-----BEGIN CERTIFICATE-----

MIIG1TCCB....

-----END CERTIFICATE-----

-----BEGIN RSA PRIVATE KEY-----

TlI0kiQCiPGN...

-----END RSA PRIVATE KEY-----
Then upload the certificate to your device:
scp server3.crt ubnt@<device>:/etc/persistent/https/server3.pem
Log into the powerbeam via SSH: Create rc file in ‘/etc/persistent/rc.poststart’ with following content
#!/usr/bin/sh
cp /etc/persistent/https/server3.pem /etc/server.pem
kill $(ps | grep [l]ighttpd | awk '{ print $1 }')
Then make it executable, save the configuration and reboot
chmod +x /etc/persistent/rc.poststart
save
reboot
And done!
References: https://community.ui.com/questions/AirOS-8-custom-SSL-certificates-Guide-Resolved/fcf2d671-1933-4fe1-bdcb-ba33a94020e4
Images


